Cable Tray Installation and Laying Techniques
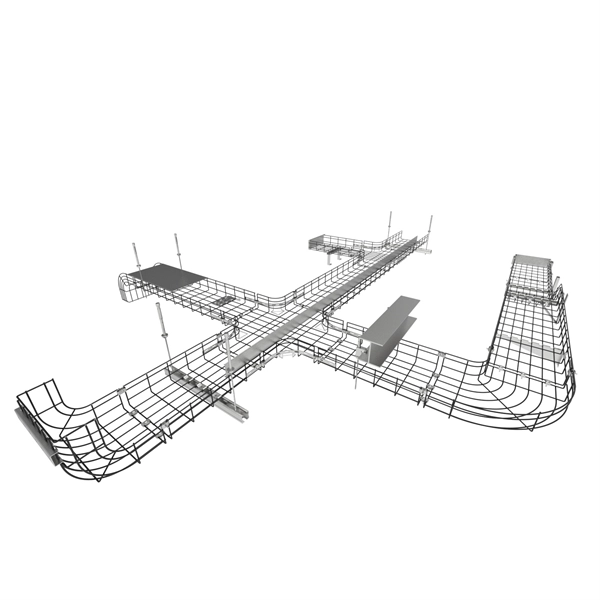
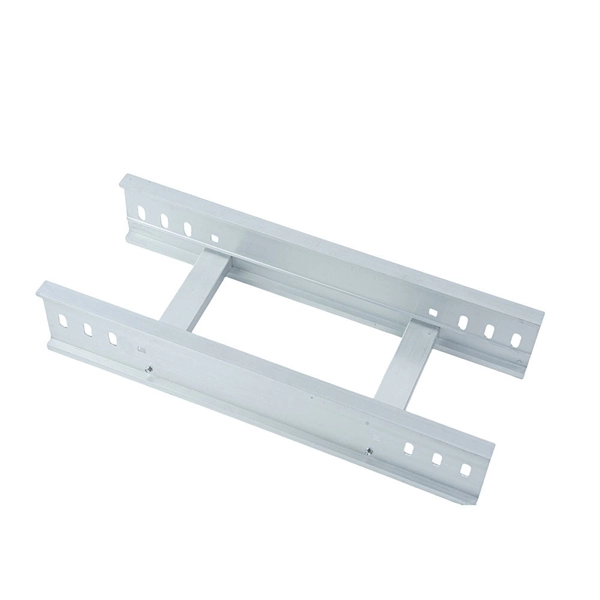
Proper cable tray installation involves careful planning, correct tray selection, secure mounting, organized cable laying, and adherence to safety codes.Step 1: Plan the RouteBefore installation, map out the cable tray route based on your site layout and electrical design. Consider clearance, load capacity, and separation requirements for different cable types. Identify bends, tees, risers, and potential obstructions like HVAC ducts or pipes to ensure a smooth path for the tray and cables .Step 2: Choose the Right Tray TypeSelect a tray type suitable for your application:Ladder trays: Allow airflow and easy cable entry, ideal for heavy power cables.Perforated trays: Support lighter loads and provide ventilation.Solid-bottom trays: Protect sensitive cables from dust or debris.Wire mesh trays: Flexible and lightweight for data or control cables .Step 3: Determine Tray Size and Cable FillCalculate tray width and depth based on the number and type of cables. Avoid overfilling, which can cause overheating and reduce ampacity. Use NEC Table 392.22 for maximum fill area and consider conductor derating for high-density installations .Step 4: Install Supports and MountingSecure the tray using brackets, wall arms, or trapeze hangers. Standard support spacing is typically 1.5 to 3 meters, depending on tray type and load. Ensure trays are level, straight, and properly aligned. For ceiling installations, use threaded rods and anchor bolts; for wall-mounted trays, use cantilever brackets .Step 5: Lay CablesLoad heavy cables first, followed by lighter control or data cables.Separate cables by voltage or function using dividers if necessary.Secure cables with ties or straps, leaving slack for expansion or future adjustments.Use rollers or sheaves for long runs to prevent kinks or jacket damage .Step 6: Grounding and BondingFor metal trays, bond all sections to maintain electrical continuity. Use proper grounding jumpers to ensure safety and compliance with electrical codes .Step 7: Labeling and DocumentationLabel all cables clearly and maintain an updated wiring map. This facilitates troubleshooting, maintenance, and future upgrades .Step 8: Final Inspection and MaintenancePerform a thorough inspection for loose clamps, misalignment, overfilled sections, or unsupported spans. Schedule routine maintenance to check for corrosion, loose wires, or damaged components to extend tray lifespan and ensure system reliability . By following these steps, you ensure a safe, organized, and code-compliant cable tray system that is scalable and easy to maintain.